
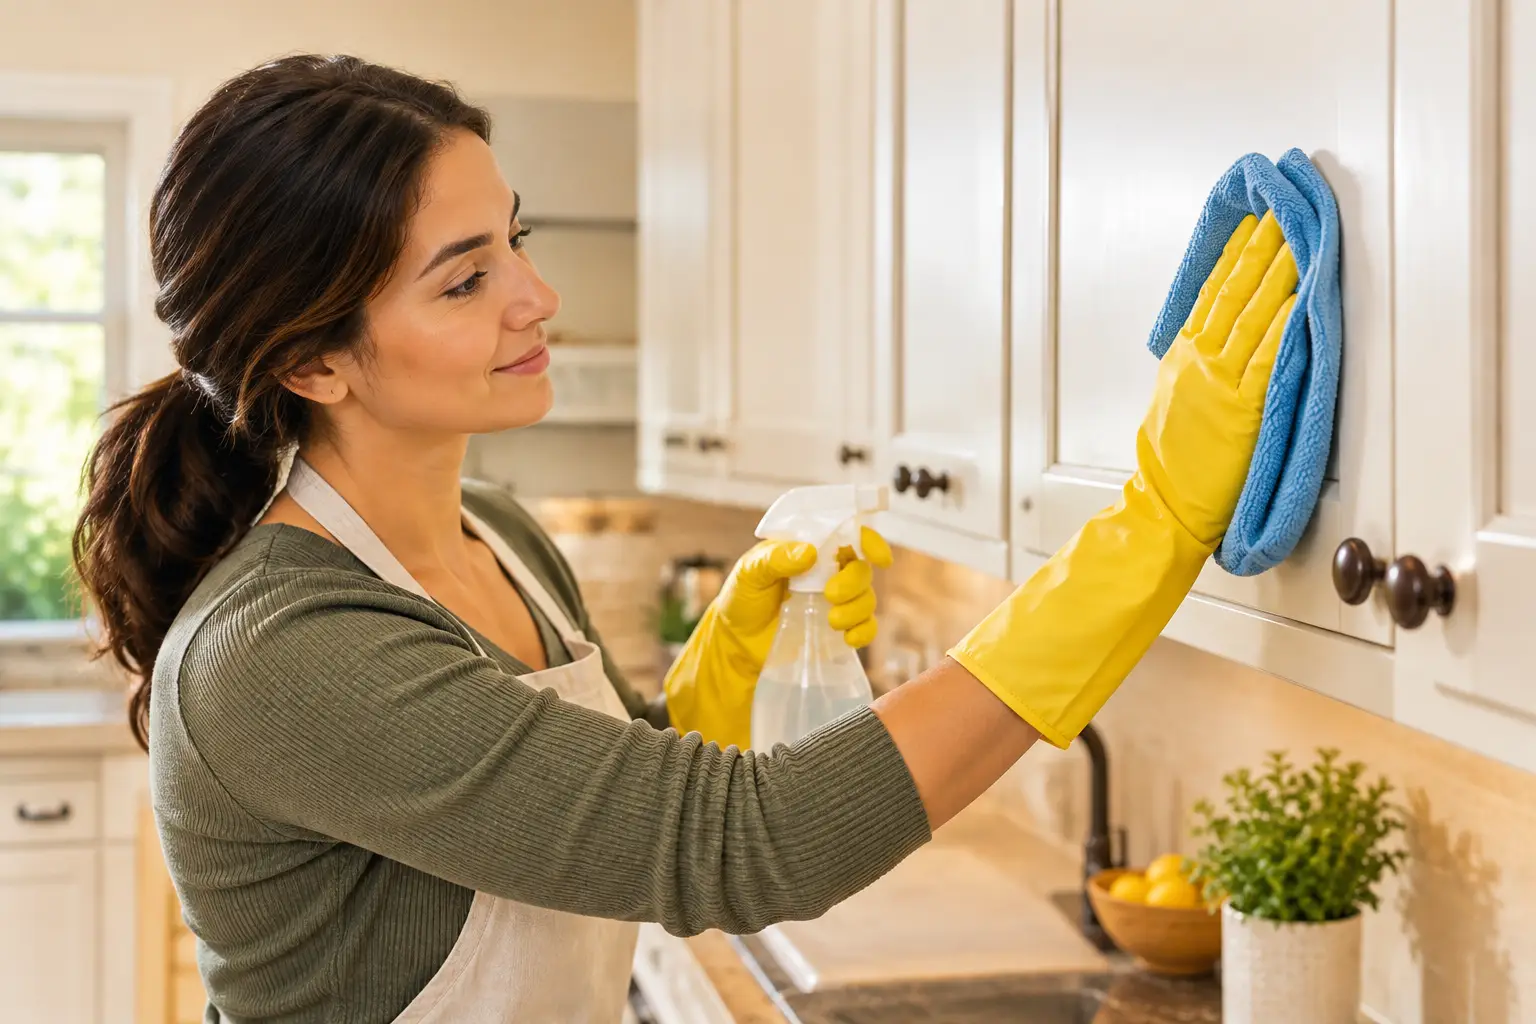
That sticky film around cabinet pulls, above the range, and beside the microwave is more than a cleaning nuisance. Grease traps dust, dulls the finish, and can make an otherwise updated kitchen look worn before its time. Learning how to remove grease from cabinet doors carefully helps protect the color and finish you already have – especially if your cabinets have been painted or refinished.
The key is using enough cleaning power to break down cooking oil without using harsh products that soften paint, strip stain, haze laminate, or leave water sitting in joints. Start gently, work in small areas, and let the cabinet material guide your approach.
Why Cabinet Grease Needs More Than a Quick Wipe
Fresh splatters usually come off with a damp cloth. The difficult residue is the combination of airborne cooking oil, steam, fingerprints, and dust that builds up over weeks or months. It often feels tacky rather than visibly dirty, which is why it can be missed until the cabinet surface starts looking uneven.
Cabinet doors closest to the cooktop tend to collect the most buildup, but upper doors, crown molding, and the narrow areas around handles deserve attention too. Grease can also settle on bathroom cabinets near styling products, though kitchen buildup is usually heavier.
Avoid treating all cabinets the same. Painted wood, stained wood, thermofoil, laminate, and factory-coated cabinetry can react differently to moisture and cleaners. A product that cuts grease quickly may also damage a compromised finish or expose a repair that needs professional attention.
How to Remove Grease From Cabinet Doors Step by Step
Before you begin, gather two soft microfiber cloths, a bowl of warm water, mild dish soap, and a dry towel. Choose a dish soap designed to cut grease, but use only a small amount. Too much soap can leave a film that attracts more dirt later.
Start by dusting the doors with a dry microfiber cloth. Skipping this step can turn loose dust into a muddy residue when moisture is added. Then mix a few drops of dish soap into warm water. The water should be comfortably warm, never hot enough to affect a painted or finished surface.
Dampen a cloth with the solution and wring it out thoroughly. The cloth should feel barely wet, not dripping. Wipe one small section of the door using light pressure, paying close attention to the area around knobs, pulls, and edges. Do not soak seams, raised panel details, or unfinished edges where moisture can work into the wood.
Follow immediately with a second cloth dampened only with clean water to remove the soap residue. Dry the area with a clean towel before moving on. This two-cloth method takes a little longer than spraying and wiping, but it is much safer for cabinet finishes and produces a cleaner result.
For moderate buildup, let the damp soapy cloth rest against the greasy area for 20 to 30 seconds before wiping. This gives the soap time to loosen the oil so you do not have to scrub aggressively. Repeated gentle passes are better than one hard scrubbing session.
Treating Stubborn Grease Around Handles and Cooktops
If the mild soap solution does not fully remove the tackiness, make a slightly stronger mixture with warm water and a little more dish soap. Test it first in an inconspicuous area, such as the inside edge of a door. If the color transfers to the cloth, the finish looks cloudy, or the surface feels soft, stop cleaning and allow the area to dry.
Use a soft toothbrush only for detailed grooves, hardware edges, or carved areas, and keep it lightly damp. Avoid abrasive pads, stiff brushes, and powdered cleaners. They can leave fine scratches that are especially noticeable on dark paint, satin finishes, and glossy cabinet doors.
Removing the hardware can make a deep clean easier if grease has collected behind pulls. Place screws and hardware in a labeled container, clean the door surface, and dry it completely before reinstalling everything. This is also a good opportunity to check for loose handles, chipped paint, or worn spots around the pull areas.
Cleaners to Avoid on Painted, Stained, and Laminate Cabinets
The strongest cleaner is not always the best choice. Oven cleaner, bleach, ammonia, acetone, and heavy-duty degreasers can damage cabinet coatings or change their sheen. They may seem effective at first, but the finish can become dull, sticky, faded, or uneven after repeated use.
Vinegar is often recommended as a general household cleaner, but it is not the best default for cabinet doors. Its acidity can be hard on some finishes when used frequently or left on the surface. Baking soda can also be too abrasive, particularly on painted cabinets and laminate.
Oil-based wood polishes deserve caution as well. They may create temporary shine, but they can leave a residue that attracts dust and complicates future cabinet painting or refinishing. If your goal is a clean, durable finish, a mild soap solution and careful drying are usually the smarter choice.
Match Your Cleaning Method to the Cabinet Material
Painted cabinets need the gentlest touch. Even a durable cabinet paint system can be affected by repeated moisture, abrasive scrubbing, or chemical cleaners. Use mild soapy water, wipe lightly, rinse with a separate damp cloth, and dry right away. If a painted surface is peeling or feels gummy, cleaning alone will not correct the problem.
Stained wood cabinets require similar care, with extra attention around joints and decorative profiles. Never saturate wood doors. If grease has settled into the grain or the finish has worn thin near handles, the wood may continue to look dark or uneven after cleaning. That is often a finish issue, not a housekeeping issue.
Laminate and thermofoil doors generally tolerate mild soap and water well, but their edges are vulnerable. Keep water away from seams and lifting corners. If the surface is peeling, bubbling, or separating from the substrate, use minimal moisture and consider a refinishing consultation rather than aggressive cleaning.
When Grease Is Really a Finish Problem
Sometimes a cabinet door stays blotchy, dull, or sticky even after a careful cleaning. Old grease can penetrate worn coatings, and previous use of waxes, furniture polish, or harsh degreasers can leave behind a difficult residue. In those cases, adding stronger cleaners often makes the appearance worse.
Signs that the cabinet finish may need more than cleaning include discoloration that will not wipe away, paint loss around handles, yellowing near the range, soft or tacky coating, deep scratches, and water damage along lower edges. These issues can make a kitchen feel dated even when the cabinet boxes are still structurally sound.
Professional cabinet refinishing addresses the surface instead of trying to hide it. Proper preparation removes residue, repairs worn areas, and creates a stable foundation for a new paint color or updated stain. It is a practical way to get a major visual change without the cost and disruption of replacing functional cabinetry.
For homeowners in Palm Desert, Palm Springs, Rancho Mirage, and nearby Coachella Valley communities, Delta Custom Finishes can evaluate whether cabinet doors need a thorough cleaning, targeted repairs, or a complete finish update. The right solution depends on the condition of the existing coating, your budget, and the look you want for the room.
Keep Grease From Building Up Again
Once your doors are clean, a light maintenance routine makes the next cleaning much easier. Wipe fresh splatters as they happen, clean around handles regularly, and use your range hood whenever you cook with oil. A quick monthly wipe with a barely damp microfiber cloth and mild soap solution is often enough for active kitchens.
Pay attention to the areas your hands touch most. Oils from fingers and cooking residue gather around pulls long before the rest of the door looks dirty. Keeping those spots clean protects the finish and helps your cabinets continue to look like a deliberate part of the room, not a surface waiting for a renovation.
A clean cabinet door should feel smooth and dry, not slick or tacky. If yours still do not after gentle cleaning, that is useful information: it may be time to restore the finish rather than keep scrubbing it.