
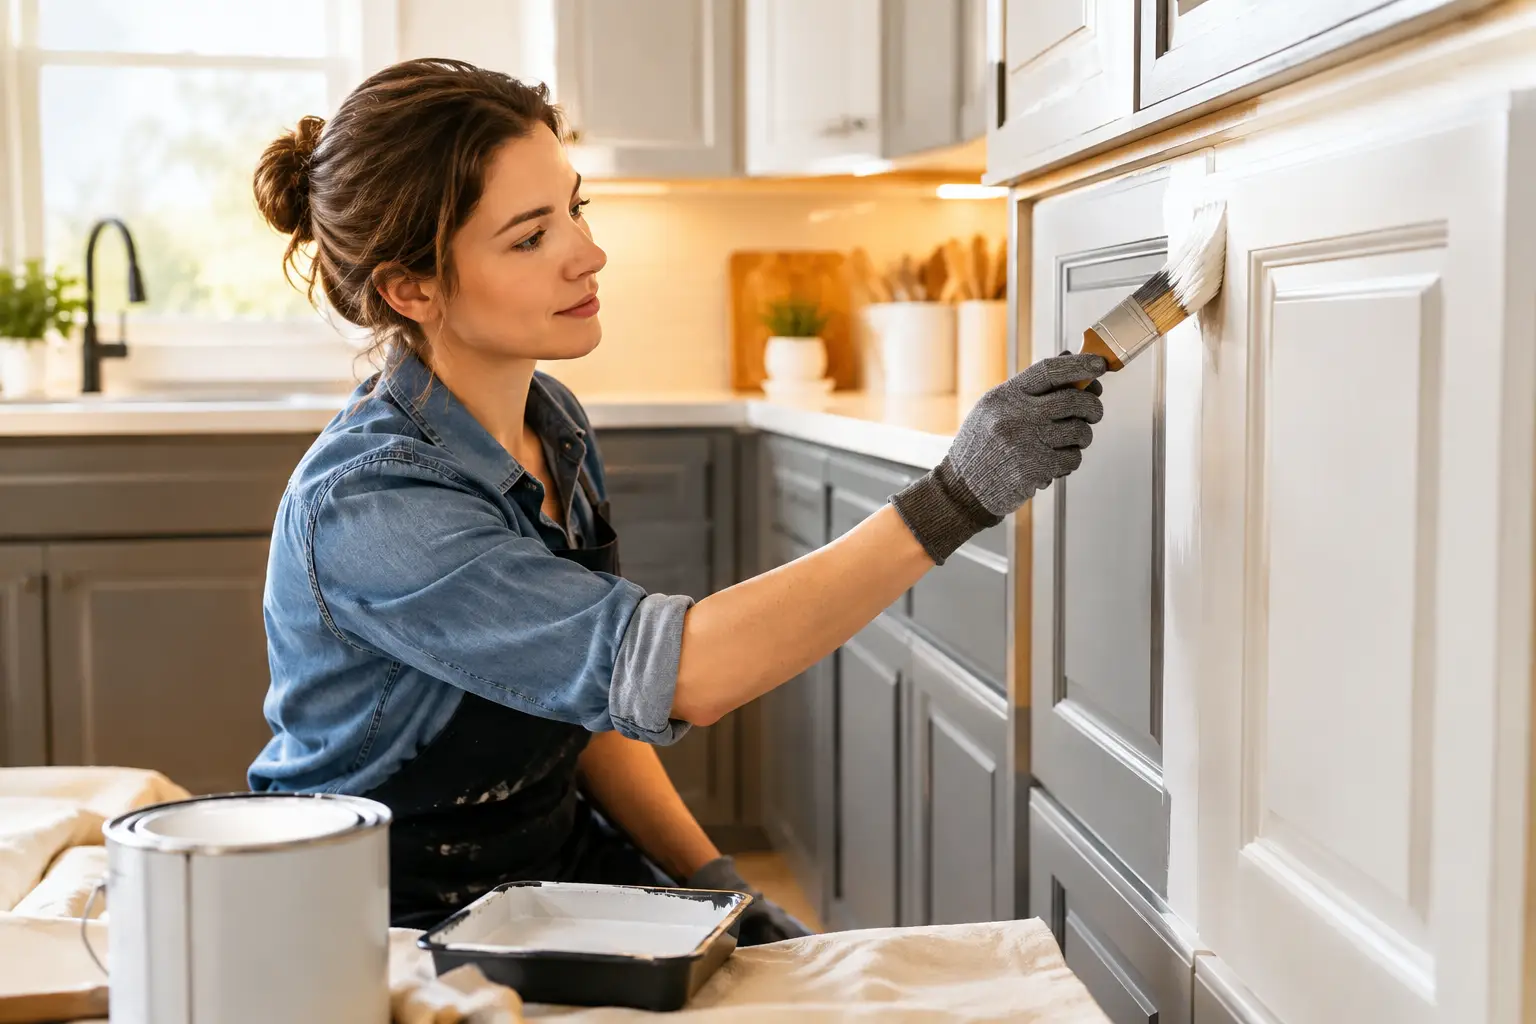
Laminate cabinets can make an otherwise well-kept kitchen or bathroom feel stuck in another decade. The boxes may still be solid, the layout may still work, and replacement may be far beyond the budget. This guide to refinishing laminate cabinets explains what it takes to get a clean, durable new look without paying for a full cabinet replacement.
The key is understanding that laminate is not wood. It has a smooth, nonporous surface designed to resist moisture and everyday wear, which is useful until you want paint to stick to it. A lasting finish depends less on the color you choose and more on careful cleaning, repair, sanding, priming, and curing. Done correctly, refinishing can dramatically change the room while preserving the cabinetry you already own.
Is Refinishing the Right Choice for Your Cabinets?
Laminate cabinets are usually good candidates for refinishing when the cabinet boxes are structurally sound and the laminate is firmly attached. Faded color, dated oak-look doors, minor scratches, stained surfaces, and worn hardware are all cosmetic problems that refinishing can address.
There are limits. If laminate is peeling across large areas, swollen particleboard is crumbling around the sink, or hinges have pulled loose from damaged cabinet material, paint alone will not solve the underlying issue. Small chips and loose edges can often be repaired. Widespread water damage may mean replacing individual doors, drawer fronts, or cabinet sections before refinishing makes sense.
For homeowners weighing refinishing against replacement, the trade-off is straightforward. New cabinets offer changes to layout, storage, and construction. Refinishing keeps a workable layout in place and focuses your budget on the visual transformation. In a kitchen where the cabinets are functional but dated, that can be the smarter investment.
A Guide to Refinishing Laminate Cabinets Step by Step
Start with a realistic finish plan
Choose your color and finish level before preparation begins. Soft whites and warm greiges can brighten a dark kitchen, while deep navy, charcoal, or green can give an island or bathroom vanity more character. Satin and semi-gloss finishes are popular because they are easier to clean and reflect enough light to look polished without highlighting every small surface imperfection.
A painted finish is generally the most practical option for laminate. Unlike real wood, laminate does not absorb stain in a natural, even way. Specialty products can create faux wood effects, but paint offers the most reliable path to an updated, consistent result.
Also consider the rest of the room. Countertops, backsplash, wall color, flooring, and lighting all affect how a cabinet color reads. A white paint that looks crisp under showroom lighting may look creamy next to warm tile or bright sunlight. Testing samples in the actual room prevents expensive second guesses.
Remove doors, drawers, and hardware
For the cleanest result, remove cabinet doors, drawer fronts when possible, handles, knobs, and hinges. Label every door and hinge location as you go. A simple piece of painter’s tape marked inside each door can save a great deal of confusion during reinstallation.
Working on doors horizontally helps control drips and gives you better access to edges. It also keeps overspray, dust, and paint from reaching appliances, counters, and nearby walls. Cabinet frames can be refinished in place, but surrounding surfaces should be thoroughly masked and protected first.
Clean beyond what looks clean
Kitchen cabinetry collects cooking oils, hand residue, furniture polish, and cleaning-product buildup. Bathroom cabinets collect hairspray, cosmetics, and moisture-related grime. Even when the doors look clean, contaminants can interfere with adhesion.
Use an appropriate degreasing cleaner, then wipe the surface with clean water or the cleaner’s recommended follow-up method. Let everything dry fully. Avoid applying primer over residue, and do not assume a quick wipe with a household cleaner is enough for high-use cabinet surfaces.
Repair chips, loose edges, and dents
Inspect the laminate closely under good lighting. Reattach small lifted edges with a suitable adhesive, secure them, and allow the repair to cure. Fill shallow chips, old hardware holes, and dents with a high-quality repair filler that can be sanded smooth.
This is the stage where cabinet quality becomes visible. Paint can make a room look new, but it will not hide a raised laminate edge, a poorly filled hole, or a deep scratch that was skipped. Taking time with repairs produces smoother doors and a more convincing finished appearance.
Scuff-sand for adhesion
Laminate does not need to be sanded down to bare material. In fact, aggressive sanding can cut through the thin laminate layer and expose the particleboard underneath. The goal is to lightly dull the slick factory surface so primer has something to grip.
Use fine- to medium-grit sandpaper and steady pressure. Sand flat areas evenly, soften rough repair edges, and pay attention to door profiles and corners. Once sanding is complete, remove all dust with a vacuum and a clean tack cloth or lint-free wipe.
Use a bonding primer made for slick surfaces
Primer is not optional when refinishing laminate cabinets. A quality bonding primer is designed to adhere to smooth, difficult surfaces and create a stable base for the finish coat. Standard wall primer may not provide the same level of grip or durability.
Apply thin, even coats rather than trying to cover everything heavily at once. Follow the manufacturer’s dry-time instructions, then lightly sand any roughness before painting. Primer also helps cover old color and repairs, giving your chosen cabinet color a more even appearance.
Apply a cabinet-grade finish in thin coats
The finish coat should be formulated for cabinets, trim, or other high-touch surfaces. These products are designed to cure harder than ordinary wall paint and stand up better to cleaning, opening and closing, and daily use.
A professional spray application can create a smooth, factory-like appearance, particularly on flat laminate doors. Brushing and rolling can also work when done carefully with quality tools, though the finish may show more texture. Either approach requires patience: thin coats, proper dry times, and light sanding between coats when needed.
Do not rush the final coat because the cabinets feel dry to the touch. Dry and cured are different. A surface may be dry enough to handle after several hours but still need days or longer to reach its intended hardness. During that curing period, avoid harsh cleaners, slamming doors, and placing heavy items against freshly finished surfaces.
Common Mistakes That Shorten the Life of the Finish
The most common failure is painting directly over glossy laminate with little or no preparation. The result may look fine at first, then chip near handles, corners, and frequently used drawer fronts. Skipping degreasing, using the wrong primer, applying heavy coats, and reinstalling hardware too soon can create similar problems.
Another mistake is treating every cabinet problem as a paint problem. Swollen material around a dishwasher, loose hinges, and extensive delamination need repairs or replacement before a finish is applied. A professional assessment can help determine whether refinishing will deliver the value you expect or whether a few components should be addressed first.
Finally, be cautious with color choices that fight the fixed elements in the room. Refinishing is affordable compared with replacement, but it is still a visible change. A coordinated cabinet color can make existing counters and tile feel more intentional, extending the life of the entire space.
When Professional Cabinet Refinishing Makes Sense
DIY refinishing can be rewarding for a homeowner with time, a controlled workspace, and comfort working through detailed prep and drying schedules. However, kitchens and bathrooms are demanding environments. The finish has to withstand moisture, grease, fingerprints, cleaning, and constant use.
Professional cabinet refinishing is often the better fit when you want consistent color, smoother sprayed surfaces, reliable repairs, and less disruption in the home. It is especially valuable for large kitchens, detailed door styles, dark-to-light color changes, and cabinets with visible wear. Delta Custom Finishes helps homeowners throughout the Palm Desert area refresh usable cabinetry with custom color options and professional-grade preparation, giving the room a high-impact update without the price of a complete renovation.
A refinished laminate cabinet does not need to pretend it is brand-new wood to look beautiful. It needs a well-prepared surface, the right coating system, and a finish color that makes the room feel like yours again.