
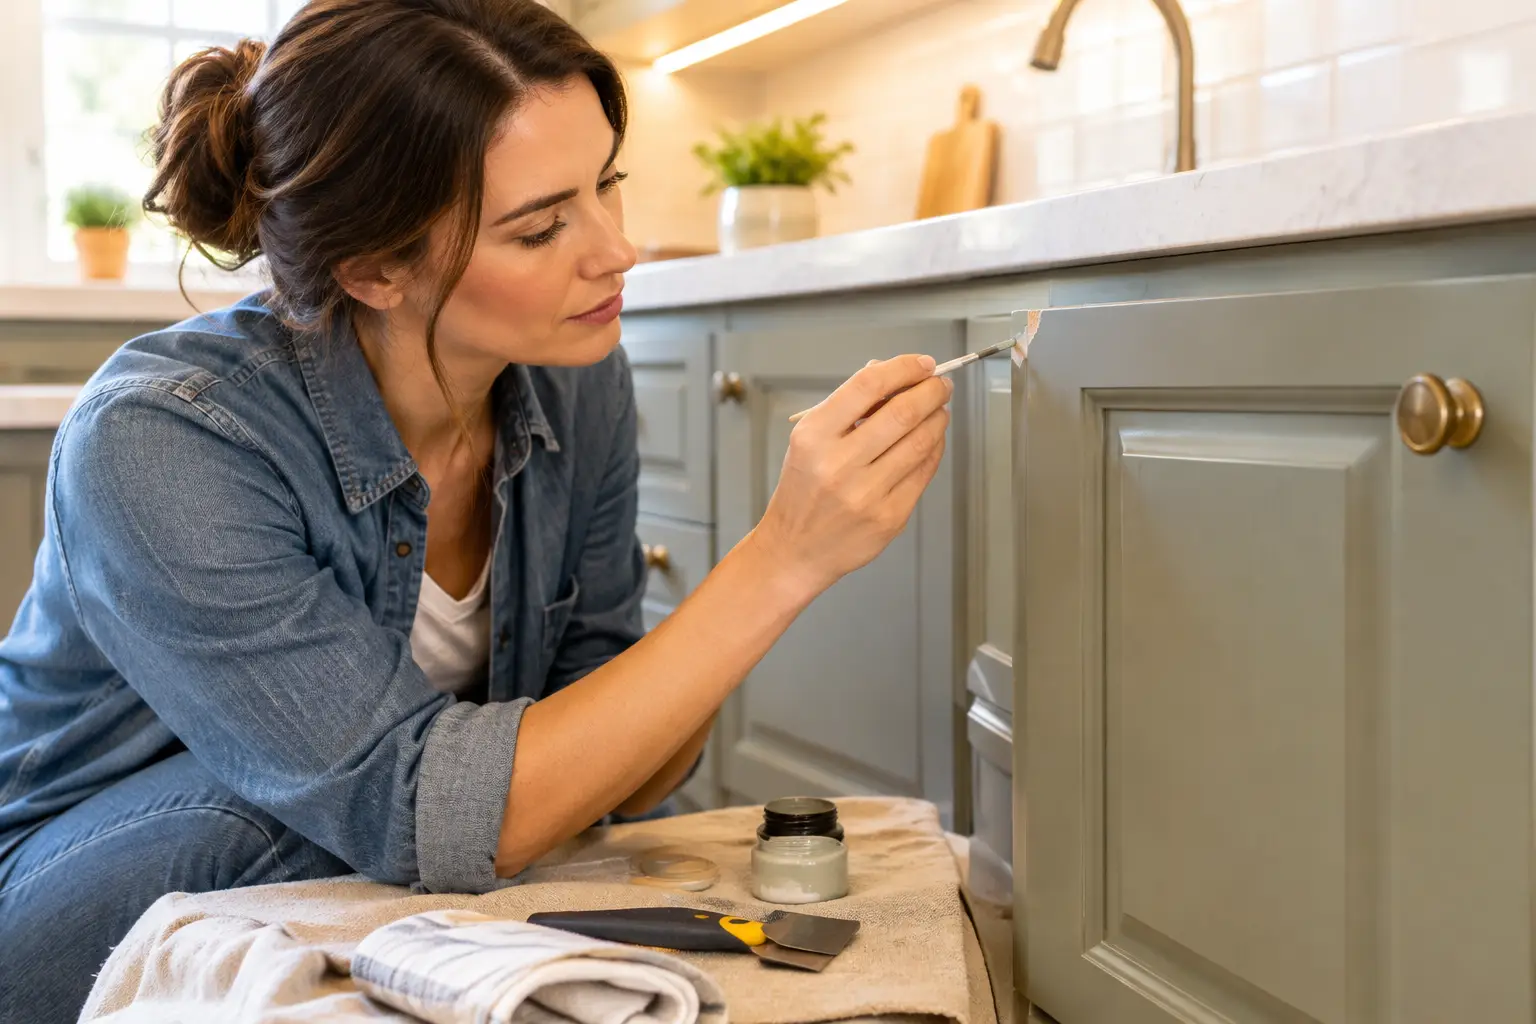
A small chip on a cabinet door has a way of drawing the eye every time you walk into the kitchen or bathroom. The good news is that you can often repair chipped cabinet doors without replacing the cabinet itself. The right repair depends on what caused the damage, how deep it goes, and whether you want a quick improvement or a finish that blends into the rest of the room.
Cabinets take a lot of daily wear. Fingernails catch an edge near a pull, a vacuum bumps a lower door, moisture gets beneath failing paint, or an old finish simply becomes brittle over time. A careful repair can stop that damage from spreading and restore the clean, finished look that makes cabinetry feel intentional rather than worn out.
Start by Identifying the Type of Chip
Not every chip should be repaired the same way. A shallow nick in painted cabinetry usually needs a different approach than a chunk missing from an MDF door or a veneer surface that is lifting at the edge.
For painted wood cabinets, inspect whether the paint alone has come off or whether the wood underneath is dented, split, or exposed. If the surface is smooth beneath the missing paint, a simple touch-up may be enough. If you can feel a depression or rough fibers, the area needs filling and sanding before any paint goes on.
MDF cabinet doors are common in painted kitchens, especially on profile-style doors. When MDF gets chipped, the exposed material can look fuzzy or swollen. It must be sealed before painting, particularly in bathrooms and near kitchen sinks, where moisture can make the damage worse.
Veneer cabinets require a lighter touch. If a thin wood layer has chipped away, sanding aggressively can create a larger bare patch. The repair may involve a color-matched filler, careful grain touch-up, or refinishing the full door to make the area less noticeable.
How to Repair Chipped Cabinet Doors Step by Step
The goal is not simply to put paint over the missing spot. A durable repair rebuilds the surface, creates a level transition, and matches the surrounding sheen. Rushing any of those stages is why many DIY touch-ups remain visible.
Clean the damaged area first
Cabinet doors collect cooking oils, hand lotion, cleaning residue, and dust. Even a small chip needs a clean surface for filler and paint to bond correctly. Wipe the area with a cabinet-safe degreaser, then let it dry completely.
Avoid saturating exposed MDF or raw wood with water. Use a lightly dampened cloth rather than soaking the area. If the chip is close to a handle or frequently touched edge, remove any residue especially well because that is where touch-up paint is most likely to fail.
Remove loose paint and soften rough edges
Use fine-grit sandpaper to remove paint that is already lifting around the chip. The objective is to feather the edges so there is no hard ridge between the old finish and the damaged area.
For a very minor paint chip, 220-grit sandpaper is usually sufficient. For a deeper defect with loose material, start slightly coarser, then move to a finer grit. Sand only the damaged zone and its immediate edges. Large, uneven sanding marks create more repair work than the original chip.
Fill dents, missing material, and deep chips
Use a high-quality wood filler or a two-part repair filler that is compatible with cabinetry. Press it into the damaged area with a small putty knife, slightly overfilling the chip because most fillers shrink a little as they dry.
This step matters most on door corners, routed details, and lower cabinet edges. Those areas receive repeated impacts, so a weak fill can crack or pop out quickly. Allow the filler to cure according to the product instructions before sanding it flush with the surrounding door.
For MDF, use a filler that can be sanded to a smooth finish and seal the repaired area before topcoating. Unsealed MDF can absorb paint unevenly and leave a dull, rough-looking spot even when the color match is correct.
Prime exposed surfaces before painting
Primer is what separates a repair that looks acceptable for a few weeks from one that holds up to normal cabinet use. It seals raw wood, filler, and MDF while giving the finish coat a uniform base.
Apply a thin coat only where it is needed, then let it dry and lightly sand if necessary. On darker cabinets being repaired with a light color, primer also prevents the repaired area from flashing through the new paint.
Match color and sheen, not just paint color
A cabinet repair can look wrong even when the color is close. The difference may be the sheen. A glossy spot on a satin cabinet, or a flat patch on a semi-gloss door, catches light differently and makes the repair stand out.
If you have leftover finish from the original project, use it only if it has been stored properly and still mixes smoothly. For older cabinetry, paint may have faded, yellowed, or changed from years of sunlight and cleaning. Testing the color on a concealed section of the door is safer than applying it directly to the visible chip.
Use a small artist brush for narrow edge chips and a fine foam roller for broader flat areas. Several thin coats usually blend better than one thick coat. Let each coat dry fully before deciding whether another is needed.
When a Small Touch-Up Is Enough
A targeted repair is a smart, budget-friendly option when the chip is shallow, isolated, and the surrounding finish is still in good condition. It works especially well for a small nick on the back of a door, a tiny impact mark near a lower corner, or a recently painted cabinet with a matching finish available.
The trade-off is visibility. Even with careful preparation, a spot repair may still be noticeable from certain angles, especially on white cabinetry, dark painted doors, high-gloss finishes, and doors exposed to strong natural light. It may be perfectly suitable for a minor flaw, but it will not always create the uniform look homeowners expect from a larger kitchen update.
Signs Your Cabinet Doors Need More Than a Chip Repair
A chipped area can be a symptom of a bigger finish problem. If paint is peeling in several places, door edges are swelling, the finish feels sticky, or the color is uneven across the kitchen, fixing one chip at a time can become frustrating and expensive.
The same is true when cabinet doors have years of accumulated wear. Touch-up paint cannot correct brush marks from an old DIY project, deep scratches, worn-through edges, failing clear coat, or an outdated stain color. In those situations, refinishing the doors as a complete surface gives you a more consistent and durable result.
Professional cabinet refinishing typically includes cleaning, surface preparation, repairs, sanding, priming, and a carefully applied finish system. The advantage is not just better coverage. It is the ability to make repairs disappear into a cohesive finish across every door and drawer front.
For homeowners who like their cabinet layout but dislike the condition or color, this approach often delivers a major visual transformation for far less than cabinet replacement. You can also choose a finish that fits the room now, whether that means a warmer stain, a classic white, a soft neutral, or a deeper contemporary color.
Protect Repaired Cabinet Doors From Future Damage
Once the repair is complete, the way you use and clean the cabinets affects how long it lasts. Give fresh paint or finish adequate curing time before heavy use. Dry-to-the-touch is not the same as fully cured, and premature scrubbing or repeated contact can damage a new repair.
Use soft cloths and mild cleaners rather than abrasive pads, harsh scouring powders, or strong solvents. Wipe splashes quickly around sinks and dishwashers, and check that cabinet pulls and hinges are secure. A loose handle can create chips around its mounting holes, while a misaligned door can repeatedly strike the cabinet frame.
If doors slam, consider adjusting hinges or adding discreet soft-close bumpers. These small changes protect the finish at the corners and edges where cabinet damage starts most often.
For a single, shallow chip, a patient repair can restore the door and keep your space looking cared for. But when the damage is widespread or the finish no longer reflects the kitchen or bathroom you want, a professionally refinished surface can make the whole room feel new again without the cost and disruption of replacement.